| Table of Contents |
|---|
Convert Existing Licenses to Cloud Sign-in Licenses
Sign into the CSI Customer Center (https://account.csiamerica.com) and navigate to Manage Software → Upgrade and Convert Licenses.

Select the licenses you wish to upgrade and/or convert to use Cloud Sign-in Licensing, then click "Generate Quote".

Click through the Quote Generation and Order Submission process. Once you have converted your licenses, your old licenses will continue to work for 90 days.

Once your order has been processed, you will receive an email informing you your Cloud Sign-in Licenses have been provisioned.

Add and Manage Users through the User Management Dashboard
Sign into the CSI Customer Center (https://account.csiamerica.com) and navigate to Settings → User Management Dashboard.

You can add users one at a time using the "+ Add New User" button. Choose a role that has the Cloud Sign-in Software Access permission.

The following "Template" roles have the Software Access permission.
Administrator
Sales & Technical Support (Basic)
Technical Support - Advanced
Technical Support - Basic
License & Software Management (Advanced)
If you want to create your own role with custom permissions, you can do so through the Roles tab of the User Management Dashboard.
Alternatively, you can import users in bulk, by:
A. Export a Microsoft Excel template of your existing users, then add additional users as new rows.
B. Import the Excel file back to add your new users.

Once your new users are added to the system, they will receive an email letting them set their password.
Follow this link to To learn more about , please visit the User Management Dashboard page.
Download and Install the CSI Application
Sign into the CSI Customer Center (https://account.csiamerica.com) and navigate to Mange Software → Downloads.
Click "Download Installation" for the software you wish to install.

Run the downloaded installer.
During the installation, be sure the default option "Cloud Sign-in" is selected in the License Option dialog box.

Run the CSI Application
Run the application you installed from the Windows Start menu or desktop.
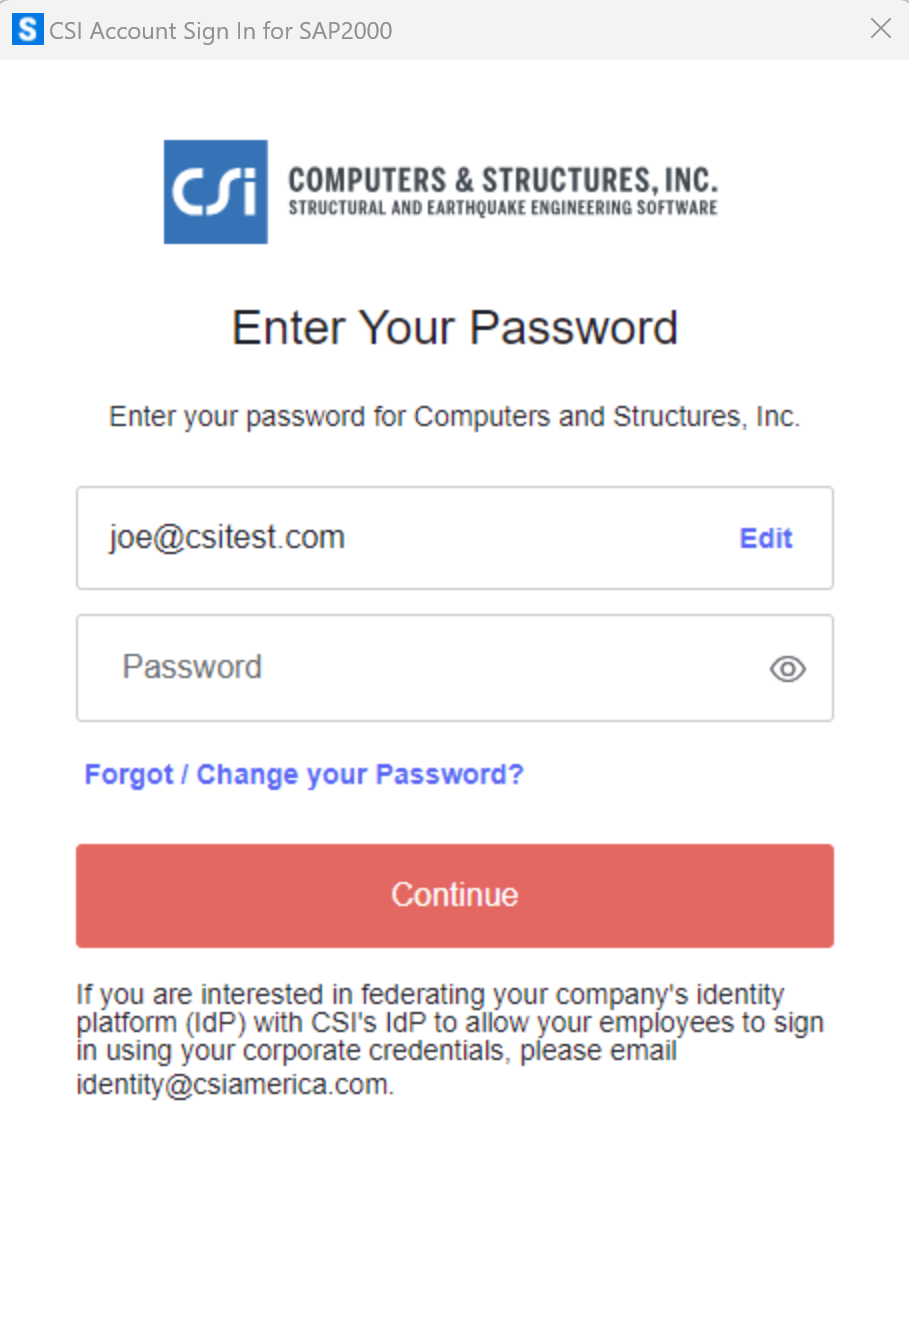
Upon startup, enter your email address and click "Continue". (If your company has setup Federated Identity, you will be redirected to your company's identity platform to complete authentication.)

On the next screen, enter your password.
Upon successful authentication, the application will try to get a license. If a license is available, the application will start and you will see your name in the top right corner of the application user interface. Navigate to Help → License Information to see information in the dialog box shown below.

View Active Users through the Cloud License Monitor
Sign into the CSI Customer Center (https://account.csiamerica.com) and navigate to Cloud Licensing Tools → License Monitor.

Click on the Cloud Sign-in tab to see gauges summarizing how many of your total licenses are currently in use.
In the table(s) below the gauges, you will see which users are actively using the licenses.

A feature of Cloud Sign-in licenses is allowing sessions to be remotely terminated using the "Terminate" button at the end of the row. Users can always terminate their own sessions.
This is particularly useful for the scenario when a user has left a CSI application running on a computer that they do not have access to and they need to free up the license to use on another computer.
Users with the Administrator role, or a role that has the Terminate Sessions permission checked, have the ability to terminate the session of other users.
Users who have their sessions terminated will always be prompted to save their work prior to the application closing.